Showing posts with label #floralcard. Show all posts

Saturday, August 3, 2024

~ Friends of Unity August 2024 Blog Hop ~

Hello there crafty friend!
Welcome to our August Friends of Unity Blog Hop!! This month's cue is a sweet one. I hope you'll hop along with us and enjoy some wonderful inspiration from our friends!


This month's cue is Friendship. I am blessed to have friends from elementary school, high school, college, church, and a bunch of like-minded crafty friends online. My focus for this cue was to create cards to send to some of these friends.


First up is a card of encouragement for a dear friend. I stamped the gorgeous sunflower from the brand new Radiant Resilience stamps six times using Black Amalgam ink on white card stock. I then colored three of the sunflowers and colored just the inner petals of the other three sunflowers.


I die cut the three sunflowers using the second largest die from the Deckle & Stitches Nesting Dies. I fussy cut the three sunflowers around the inner petals. I secured the sunflowers to the die cut panel using washi tape and then I die cut the panel again using the same die. And then I added foam tape to the back of those inner petals and popped them up on the sunflowers. You can see some of the dimension in the photo above.


I die cut a piece of Orange Zest card stock from Papertrey Ink using the largest die from the Deckle & Stitches Nesting Dies. I adhered my panels together and then adhered them to an A2 top fold card base of Early Espresso card stock from Stampin' Up. I trimmed the sentiment and adhered it to the card. Trimmed the excess off the right side and then I added several enamel dots from my stash finishing up my first card. I think my friend will like it.

Here's a quick list of the Copic markers I used to color up the sunflowers:
Petals: YR21, Y06, YR15, YR16, YR27
Center: E21, E23, E25, E29


I created my second card using some leftover pieces from my first card. These are the inner petals that were leftover from the first card. I thought they'd look really pretty on a dark background. So I die cut a piece of Early Espresso card stock using the second largest die from the Deckle & Stitches Nesting Dies again. I adhered the partial sunflowers to the background and die cut the panel again.


And then I thought it would be fun to do some splatters. I went a little crazy with the splatters but it sure was fun! I let the panel dry and then I adhered it to a piece of Summer Sunrise card stock from Papertrey Ink. I wrapped the panel a few times with {Natural} May Arts Burlap String and then I added a bunch of foam tape to the back of the panel avoiding the string.


I heat embossed the sentiment from the adorable Lil' Bloomer stamps. I prepped the Early Espresso card stock with the TE Anti-Static Powder Tool from Taylored Expressions. I stamped the sentiment with Sugar Cube White Pigment ink, also from Taylored Expressions. I dusted the wet ink with Alabaster White Embossing Powder from Brutus Monroe and melted the powder with a Wagner Precision Heat Tool. Once it cooled, I trimmed the sentiment and then I adhered it to the sunflower panel. I trimmed off the excess and pulled the backing off of the foam tape and popped up the panel on an A2 top fold card base of Early Espresso card stock that I turned on it's side for a landscape card. Another lovely encouragement card for a friend.


My last card is a fun one for another friend. These crazy chickens from the Cuckoo stamps are just too much fun!! I hope it brings a smile to my friend's face. These chickens are so funny I decided to pair them up with the Rustic Cowhide {paper pack}. My daughter said they don't go together but I thought it was funny! Dare I say... a bit cuckoo! LOL!


I stamped the funny chickens from Cuckoo using Black Amalgam ink and then Copic colored them to look like some of our chickens. So recently we rescued a couple Silkie hybrid chickens. They are the craziest looking chickens and they look a lot like the two chickens on the right. So I colored those two to look like our Rip {bottom right} and Chewy {top right}. We don't actually have any white chickens but that middle one just looked like it should be white so I went with it. And then the top left is colored like a mix of our brown chickens... I think they are ISA browns and Rhode Island Reds. And the bottom left is colored like our Plymouth Rock Chickens. So much fun!


I die cut the chickens using a die from the Scallops & Squares {nesting dies}. I trimmed the pattern paper to the same height as the square and adhered them together. And I wanted to keep this card simple so I just adhered the panel to a black A2 top fold card base.


Inspiration for my third card is from the Tawny Owl Paperie Inky Inspiration Sketch Challenge 24. Did you know I host a sketch challenge in my Facebook group? I'd love for you to join the group and play along. You can find it here... Tawny Owl Paperie Inky Inspiration.


Sometimes I forget to take photos to share, but I do like to add a white panel in my cards when I use a black {or dark} card base. I also had a strip of the pattern paper leftover so I adhered it inside the card. 


Now before we get to the hopping, I chose a lucky winner from the comments on last month's hop to win a fun prize and the lucky winner is...


... Denise Bryant!! Congratulations, Denise!!
Please email me at crystalominkler@gmail.com to claim your prize. 
Please claim the prize before September 4th, 2024. 

*** Quick Announcement ***
Unfortunately, Gaylynn has stepped down from our FOU team so she asked me to announce her winner from last month's hop. Gaylynn's July 2024 hop prize winner is Silvia H (Anonymous). Congrats Silvia! Please contact Gaylynn Martling via Facebook Messenger or a note on Gaylynn's contact form located on her blog; within three weeks of this announcement.


Well, that's it for me this time! Please hop along and enjoy some more inspiration from the Friends of Unity! I can't wait to see how our friends were inspired by this month's cue. I will be doing another fun giveaway this month!! Be sure to hop along and comment for a chance to win. {When you comment please leave your name just in case it posts as anonymous.} I'll announce the winner next month! 


Let's get to the hopping...

Crystal <--- you're here

up next ---> Amber


Colleen


Thanks so very much for supporting our little hop!
We appreciate you so much!!

See ya next time.

Inky Hugs,
Crystal


{Please note that comment moderation is ON. Your comment will appear shortly.}


Thursday, June 27, 2024

Good Day ~ Newsworthy Blooms ~ Unity Stamp Co.

Hello there crafty friend! 
Today I'm sharing one more card for Unity's latest mini release. I just had to ink up the amazing Newsworthy Blooms! Such an absolutely gorgeous stamp! And so fun to color up, too!


I paired up the Newsworthy Blooms with the gorgeous Nostalgic Amour - Romantic Vintage Paper Pack. I cut the heart paper for my background being sure to leave that beautiful heart so it would appear near the bottom of the card. That layer measures 4 x 5-1/4". The striped paper was in my stash and I'm not sure what the measurements are for it. I adhered them together and then adhered them to a card front of True Black Card Stock from Papertrey Ink measuring 4-1/4 x 5-1/2". 


I stamped the gorgeous Newsworthy Blooms using Black Amalgam Ink from Gina K. Designs. I then colored it up with my Copic markers. I fussy cut the flowers on the line but this time I didn't bother coloring the edges of the cut because I didn't want the black edge to be super neat and perfect. I die cut the sentiment using a die from the Scalloped & Stitched Sentiment Nesting Dies. I adhered the sentiment to the bottom of the newspaper and then added foam tape to the back of both and popped them up on the card.

Here's a quick list of the Copic markers I used:
Flowers: R20, R14, R35, R37, R59
Leaves: YG95, YG99
Newspaper: E41, E43, E44


I finished off the card with a few enamel dots. So much fun to make! I hope you have an ink-tastic day! 

Thanks so much for stopping by!
See ya next time.

Inky hugs,
Crystal

{Please note that comment moderation is on. Your lovely comment will appear shortly.}
Wednesday, June 12, 2024

Membership Wednesday ~ June 2024 Whit Kit Hydrangea Love ~ Unity Stamp Co.

  Hello there crafty friend!
Today I'm sharing a pretty card featuring the gorgeous hydrangea stamp from the June 2024 Whit Kit membership called Hydrangea Love from Unity. This gorgeous stamp was an absolute dream to color! So beautiful!


I stamped the Hydrangea Love flowers and sentiment on a piece of Stampers Select White Card Stock from Papertrey Ink using Black Amalgam Ink from Gina K. Designs. I loosely fussy cut the flower separating it from the sentiment. Before I started coloring the flowers with my Copic markers, I ink smooshed the flowers and leaves with a bit of Antique Linen Distress Ink. I wanted to see how the 'underpainting' of Antique Linen ink would change the look of the Copic coloring and I love the effect. I dried the flowers with a Wagner Precision Heat Tool and then I colored them up using my Copic markers.

Here's a quick list of the Copic markers I used:
Hydrangeas: RV91, RV93, RV95, BV23
Flower Centers: YG00, Y06, Y15, Y28
Leaves / Stem: YG91, YG95, YG97


I fussy cut the flowers along the line. I even cut through the bottom left flower and the leaf so that I could cut off that enclosed piece and open it up. The trick to doing that while fussy cutting is to cut in the center of the line so both images get some of the black line. And then very carefully color the edges of the whole image with the edge of a black marker from behind. Always from behind just in case the marker slips. I used a Memento Tuxedo Black marker. Coloring the edge cleans up the cutting and when it's adhered back together no one knows how you did it - unless you tell them, of course! LOL!


The background panel of Stampers Select Card Stock from Papertrey Ink was ink smooshed with Ground Espresso and Antique Linen Distress Inks. I left just a bit of white on the panel around the edges. I dried it with the Wagner Precision Heat Tool and then die cut the panel using the largest big scallops die from the recently released BIG Scallops & Rectangles {nesting dies}. I trimmed the sentiment and just adhered it directly across the card. I also adhered the flowers directly to the card. No foam tape for this one. I added a few enamel dots from my stash to finish off the card. I just love how this turned out!
 

And here's a look at the awesome Whit Kit membership! I am seriously loving the stamps in this month's kit. Well, that's it for me today! I hope you've been inspired to play with your membership stamps! Have an ink-redible day!


Thanks so much for stopping by!
See ya next time.

Inky Hugs,
Crystal


{Please note that comment moderation is on. Your lovely comment will appear once approved.}

Monday, May 27, 2024

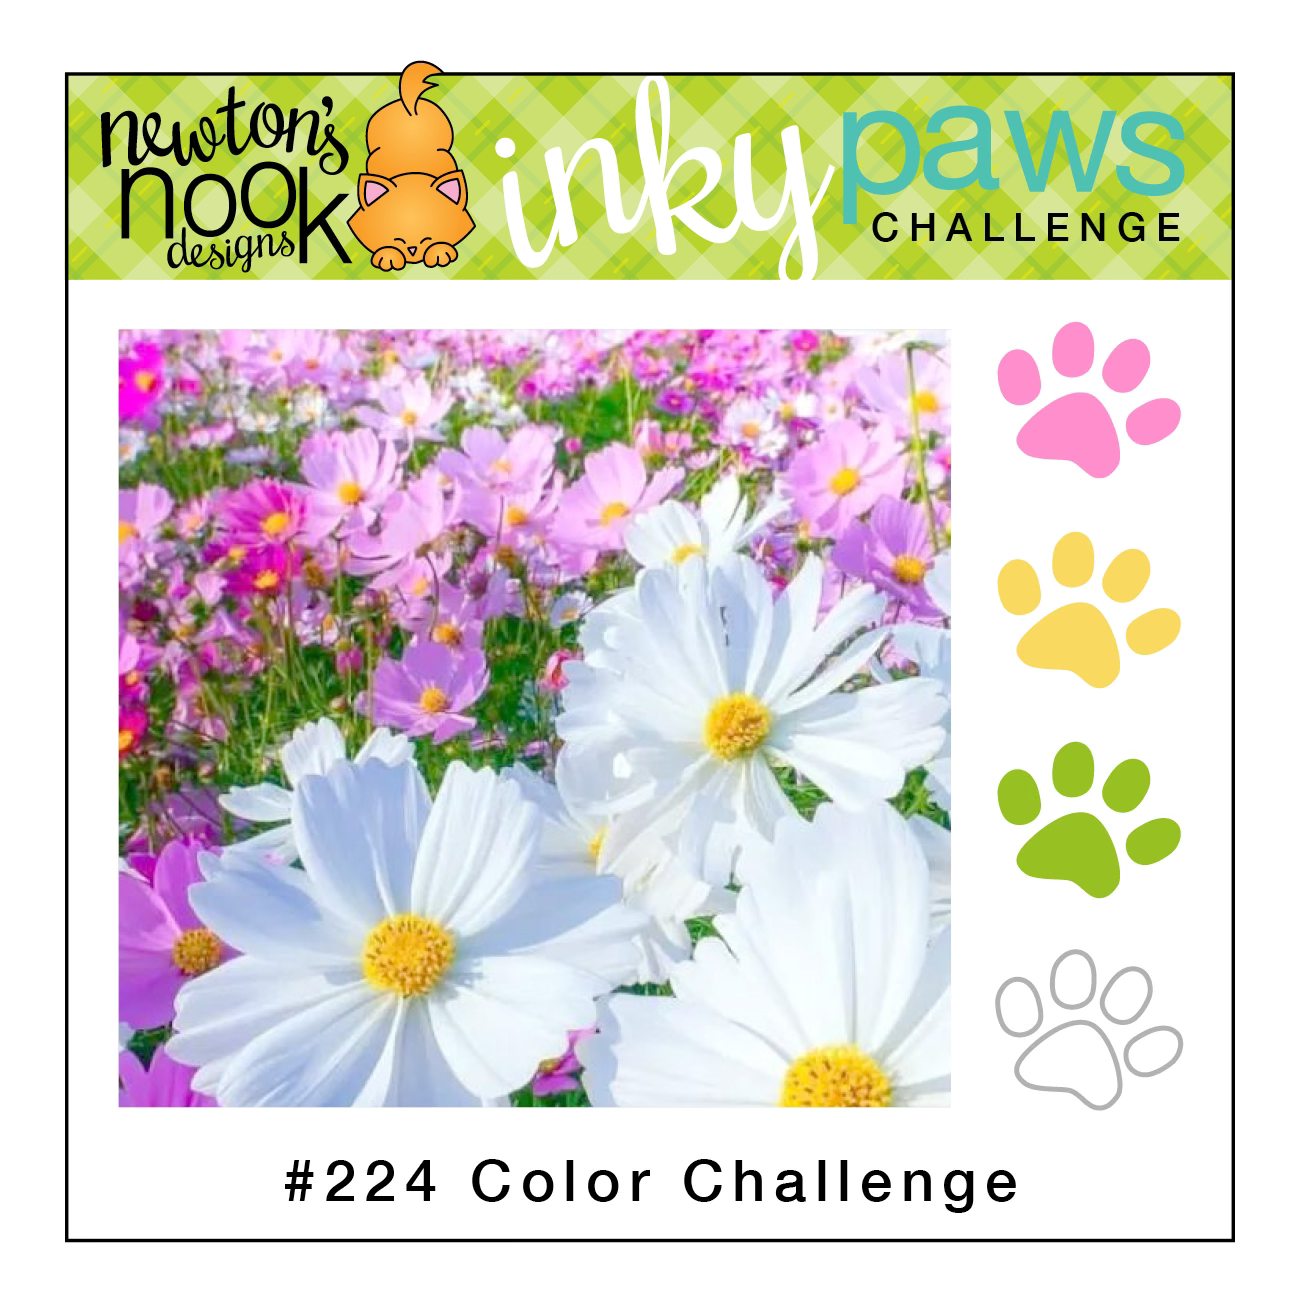
Inky Paws Challenge #224 ~ Color Challenge

Hello there crafty friend!
It's time for a new Inky Paws Challenge... a beautiful Color Challenge
I sure hope that you'll join in the fun and play along with us with your Newton's Nook Designs products! You have until Friday, June 7th to get your entries in for the #224 Color Challenge and a chance to win a $20 store credit to Newton's Nook Designs!


Lovely Spring colors... Posy Pink, Sunny Yellow, Grass Green, and White!! 


My first thought when I saw these beautiful colors was the Pastel Basics 6x6 Paper Pad!! It has all the colors and it's so perfect. Plus, I already had some pieces die cut from my polka dot card last month that would be perfect for this card! 


I love mix matching all these beautiful papers to create cards! So easy and so pretty! I did have to die cut the green heart polka dot paper using the awesome frame die from the Frames & Tags Die Set. I trimmed a piece of the green heart polka dot paper slightly larger than the larger bottom window and then secured it to the back of the die using washi tape. A great way to utilize this awesome die without stockpiling a whole bunch of leftover pieces!


I stamped the beautiful daisies and the sentiment from the Dainty Daisies Stamp Set using Memento Tuxedo Black ink and colored up the daisies with a handful of Copic markers. I die cut the flowers using the coordinating Dainty Daisies Die Set. I trimmed up the sentiment and cut two very thin scraps of card stock. I adhered the scraps together and then adhered them on the back right edge of the sentiment allowing it to lay flat on the card when I adhered it.

Here's a quick list of the Copic markers I used:

Daisy Petals: C00, C1, C3
Daisy Centers: Y11, Y15, Y35, Y28
Stems / Leaves: YG11, YG23


Now it's your turn to get your paws inky with your Newton's Nook Designs products and create a project using the color combo of Posy Pink, Sunny Yellow, Grass Green, and White. Be sure to link up to the Inky Paws Challenge! Can't wait to see your projects!


Thanks so much for stopping by!
See ya next time.

Inky Hugs,
Crystal


{Please note that comment moderation is on. Your lovely comment will appear once approved.}

Friday, May 10, 2024

You're the Bee's Knees ~ Unity Stamp Co.

Hello there crafty friend! 
Sharing one more card using new goodies from Unity's 16th birthday celebration!! I am a huge fan of the background stamps at Unity. The new You're the Bee's Knees is a fabulous new addition to the line!


I stamped the background and sentiment using Black Amalgam ink from Gina K Designs. I'm not sure what kind of flowers these are so I had fun mixing colors when I colored them up using my Copic markers. This one actually took me a few days in between other projects, homeschool lessons and well, life. Haha... it was very relaxing and I enjoyed every second of it.

Here's a quick list of the Copic markers I used:

Pink & Yellow Flowers: RV0000, RV10, RV02, Y11, Y15, Y35
Pink & Purple Flowers: RV0000, RV10, RV02, V000, V12, V15
Flower Centers: Y11, Y15, Y35, YR14
Leaves / Stems: YG11, YG23, YG05
Background: B0000, B00, Colorless Blender


Once my coloring was completely dry, I used a Sakura White Gelly Roll pen to color in the little dots in the center of the flowers. I die cut the background using the largest die from the Deckle & Stitches Nesting Die Set.


I debated using a card front of yellow or purple or even kraft, but decided to go with just a white A2 top fold card base. Not only does it make for less layers so it's easy and cheaper to mail, the white background also helps the white dots pop on the flowers. I absolutely love how this turned out! Hope you have an ink-tastic day! And Happy Mother's Day weekend everyone!

Thanks so much for stopping by!
See ya next time.

Inky hugs,
Crystal

{Please note that comment moderation is on. Your lovely comment will appear shortly.}

Thursday, May 9, 2024

Pink Magnolias ~ Special Place ~ Unity Stamp Co.

Hello there crafty friend! 
Popping in with a pretty quick floral card I created using new goodies from Unity's 16th birthday celebration!! Woot woot! Happy Birthday, Unity! 


The gorgeous magnolias reminded me our past home in California where we had several magnolia trees in front of our home. They were so beautiful! They were also white... but I wanted to color some pink magnolias so here we are! LOL! I stamped the beautiful magnolias from the Special Place stamps on Stampers Select White card stock using Black Amalgam ink. I then colored the flowers with Copic markers {yes, I forgot to color the flower centers}.

Here's a quick list of the Copic markers I used:

Pink: RV0000, RV10, RV02
Green: G43, G99, G85


I die cut the magnolias using the largest die from the Postage Stamp {nesting dies}. And then I grabbed my Love Kitties {paper pack}. I remembered the lovely pink brick papers in this pack and just knew I had to use it. I cut down a full sheet of pattern paper for my background to 4-1/4 x 5-1/2". I didn't want to cover up the pretty pink brick paper so I tore the magnolia panel and adhered it to the brick pattern paper. I trimmed some {Ivory} May Arts Burlap String into three strand and then tied a triple bow. Using liquid glue I adhered the panel to a white A2 top fold card base that I turned on it's side for a landscape card. 


I fussy cut the sentiment and adhered it to the card. I finished off the card with three Translucent Enamel Dots from Gina Marie Designs. A simple and quick card for someone special! This turned out prettier than I had thought! Have an ink-tastic day!

Thanks so much for stopping by!
See ya next time.

Inky hugs,
Crystal

{Please note that comment moderation is on. Your lovely comment will appear shortly.}

Monday, May 6, 2024

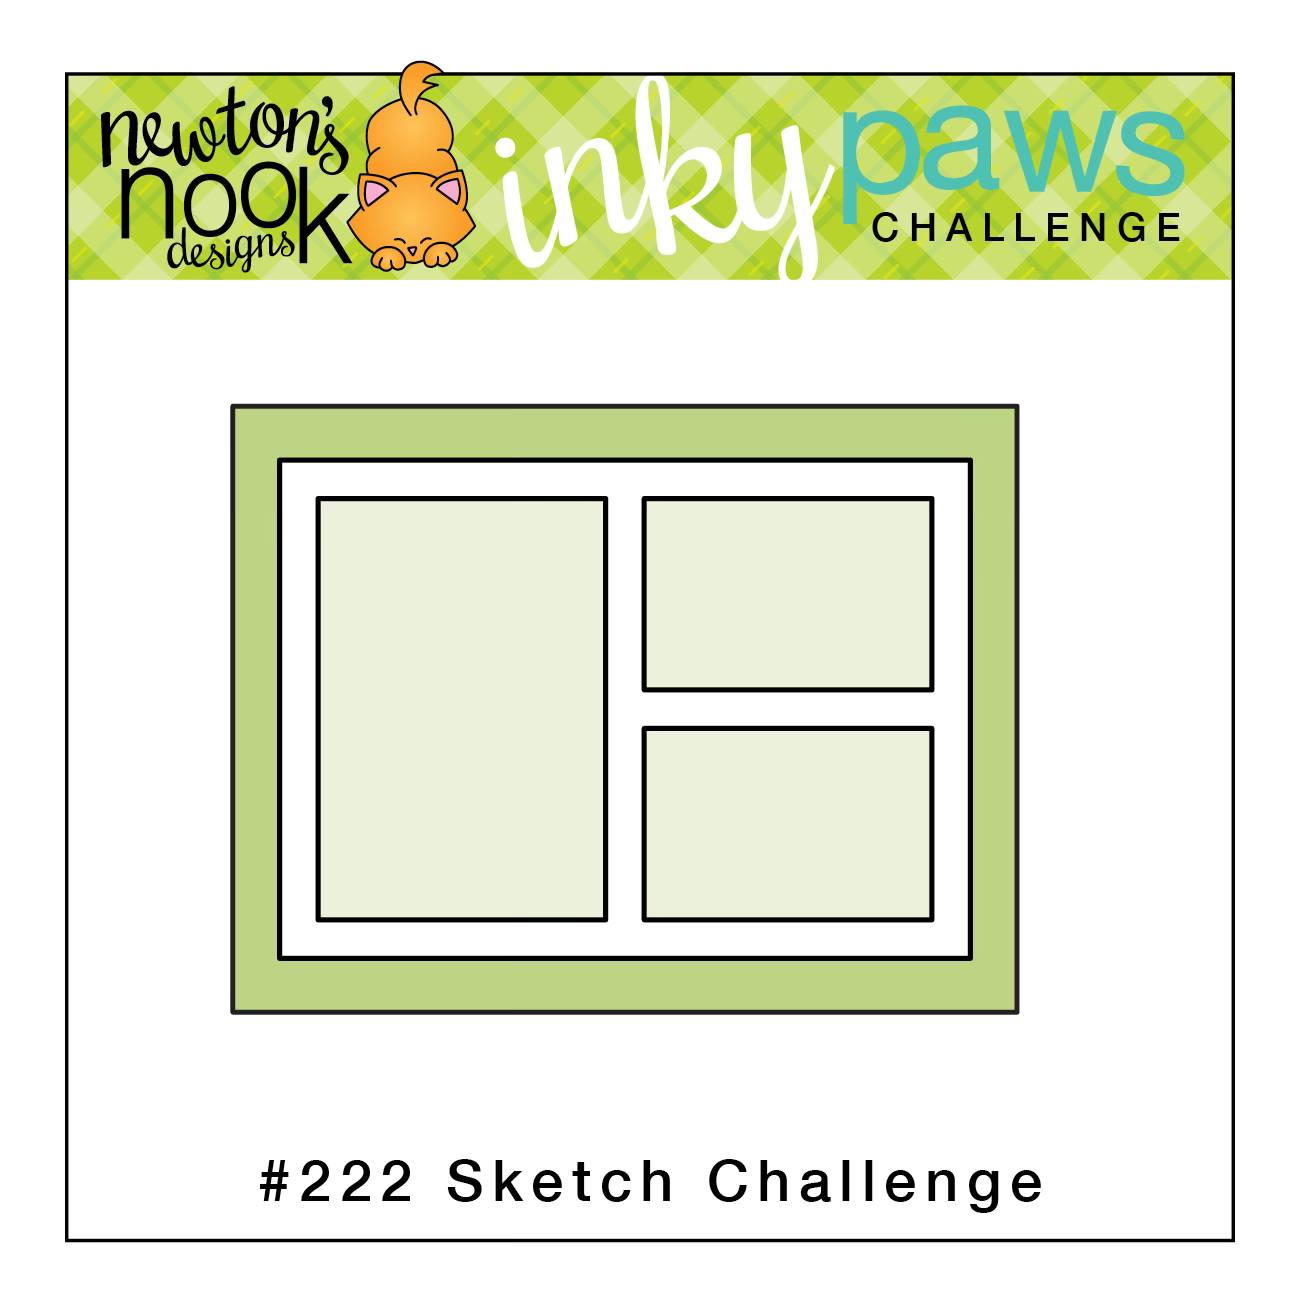
Inky Paws Challenge #222 ~ Sketch Challenge Reminder

 Hello there crafty friend!
 There's still time to play along with the Inky Paws Challenge 222 - Sketch Challenge! You have until this coming Friday, May 10th to get your entries in for this fun challenge and a chance to win a $20 store credit to Newton's Nook Designs!


I am seriously loving this sketch! And something else I seriously love is cherry blossoms. It reminds me of my grandparents and their home. They had a gorgeous cherry tree in the front yard. I loved to visit when it bloomed! So gorgeous!


It was only natural that I played with the new Cherry Blossoms Stamp Set. It's so beautiful! And a must have for my collection. I stamped the cherry blossom sprig and a few of the extra blossom on a scrap of Stampers Select White Card Stock from Papertrey Ink. I colored them up with Copic markers and then die cut them with the coordinating Cherry Blossom Die Set.

Here's a quick list of the Copic markers I used:

Blossoms / Buds: RV0000, RV10, RV02, RV14
Stem: E21, E23, E27


I set aside the pretty cherry blossoms and grabbed a card front of Stampers Select White card stock measuring 4-1/4 x 5-1/2". I wanted to stick with pink for a monochromatic card so I grabbed Kitsch Flamingo and Picked Raspberry Distress Oxide inks and ink smooshed them on my glass table. I spritzed the ink a bit with water and then dabbed my card stock into the pools of ink leaving some white until I was happy with the background.


I die cut the ink smooshed background using the largest die from the Frames & Tags Die Set. I have to say I think this die set has become my new favorite! Of course, it works perfectly with this sketch but also I love all the components of the set. Anywho, I adhered the background to my white A2 top fold card base that I turned on it's side for a landscape card. I die cut a white frame using the frame die from the same die set. I die cut the cute little tag and stamped the 'hello'. I wrapped a bit of ivory twine around the inside of the frame and thread it through the hole of the tag and then tied a bow. I adhered the frame to the card and added foam tape to the back of the tag to pop it up. I also added foam tape to the back of all of the cherry blossoms and popped them up on the card. 


Now it's your turn to get your paws inky with your Newton's Nook Designs products and create a project using the sketch. Be sure to link up to the Inky Paws Challenge! Can't wait to see your projects!


Thanks so much for stopping by!
See ya next time.

Inky Hugs,
Crystal


{Please note that comment moderation is on. Your lovely comment will appear once approved.}

Thursday, April 25, 2024

Love You, Mom! ~ Snarky Mama ~ Unity Stamp Co.

Hello there crafty friend! 
Popping in with a pretty Mother's Day card featuring the beautiful flowers from the brand new stamp called Snarky Mama from Unity Stamp Co. Even though I love all the fun and snarky sentiments in this kit, I just had to use the 'Love You, Mom!' sentiment. I miss my mama every single day.


I paired up the pretty flowers with the Kindness is Magic {paper pack}. I really love the yellow in this paper and wanted to color the flowers yellow! Which I did using a handful of Copic markers and die cut them with a stitched arch die from the Scallops & Arches {nesting dies}. I also die cut the sentiment using one of the dies from the Scalloped & Stitched Sentiment Nesting Dies.

Here's a quick list of the Copic markers I used:

Yellow Flowers: Y11, Y15, Y35, E23, E25
Red Flowers: R14, R46
Leaves: YG03, YG63, YG97


Inspiration for my card came from the {BYSHC} Sketch #7. This is one of my favorite sketches from the Build Your Stash Holiday Cardmakers Facebook group. If you're interested in seeing more fun sketches, check out the group or stop by the Build Your Stash Holiday Cardmakers blog. I'd love to have you join us!


I die cut a scalloped arch from Kraft card stock from Papertrey Ink using the next largest die from the Scallops & Arches {nesting dies}. I used the dimensions for the sketch for my paper layers {minus the die cuts, of course}. The yellow card stock is Daffodil Delight from Stampin' Up and the green card stock is Prairie Grass from Papertrey Ink.


I adhered the sentiment to the arches and added foam tape to the back of both. I popped them up on the card. This turned out prettier than I had thought! Have a wonderful night friends!

Thanks so much for stopping by!
See ya next time.

Inky hugs,
Crystal

{Please note that comment moderation is on. Your lovely comment will appear shortly.}

Thursday, April 11, 2024

'Scraps' Birthday Cards {Take 2} ~ Possible, Not Easy Plus a Few More Stamps ~ Unity Stamp Co.

 Hello there crafty friend!
I finally had some time to finish up the 'scraps' cards I've mentioned over the last couple of weeks. This time I only had enough scraps to make three cards. It feels so good to finish up another pattern paper pack. These are the papers I used for a few Easter cards last month for TOP Inky Inspiration Sketch 19. I'm excited to pick out another leftover paper pack and finish it off too!


For my first card, I used just two scraps on a yellow card front measuring 4 x 5-1/4". A super simple design. The beautiful coneflower from the Possible, Not Easy stamps from Unity are just perfect on top of a vellum circle I die cut using a scalloped circle die from the Scallops & Circles {nesting dies}, also from Unity.

Here's a quick list of the Copic markers I used:

Petals: Y11, Y15, Y35
Flower Center: E21, E23, E25, E29
Stem / Leaves: YG11, YG03


For all three cards today I used the 'happy birthday' sentiment from the awesome Feline Funny stamps from Unity. I stamped them with Black Amalgam ink on a scrap of Stampers Select White card stock and then cut them into strips. The sentiment on this card is popped up with foam tape while everything else is adhered directly to the card base.


I had one skinny strip of polka dot paper so I adhered it inside the card. A great way to use those skinny strips and also add a pretty touch to the inside of the card.


For my second card I used four little scraps... it just made sense to make a step pattern. It's different, but I kind of like it. I couldn't wait to ink up Feline Funny! I love this cat! And I used the coordinating Feline Funny die to die cut him out.


This time the sentiment is adhered to the red card front while the kitty is popped up with foam tape. I used just a handful of Copic markers to color up this kitty: C00, C1, C3, R00, R20, YG11, YG03.


For my third and last card, I used my last three scraps. Two are on the front of the card in a similar design as my first card. And I inked up the adorable giraffe from the Darling Menagerie stamps from Unity. I die cut the giraffe using another circle die from the Scallops & Circles {nesting dies}. I used just a few markers to color up the giraffe... YR21, YR15, YR68, YR24 and then used C3 and C00 for the outline around the giraffe. 


I trimmed the sentiment down for this card and adhered it directly over the pattern papers. And this time I popped up the giraffe using foam tape.


My last scrap went inside the card and it wasn't long enough to fit across so I cut a little fishtail on the one end. Done. These cards are so easy peasy and they were quick once I figured out what I was going to do. So excited to add three more cards to my stash and have another paper pack done! Woohoo! What do you think of the simple designs? Yay or nay? Well, I'm excited to pick out another paper pack to finish off. I'm hoping to find one that will work with the Tawny Owl Paperie Inky Inspiration Sketch 20. And I'll be back here on Tuesday with inspiration for the sketch challenge! Have a wonderful week!

Thanks so much for stopping by!
See ya next time.

Inky Hugs,
Crystal


{Please note that comment moderation is on. Your lovely comment will appear once approved.}