Hello there crafty friend!
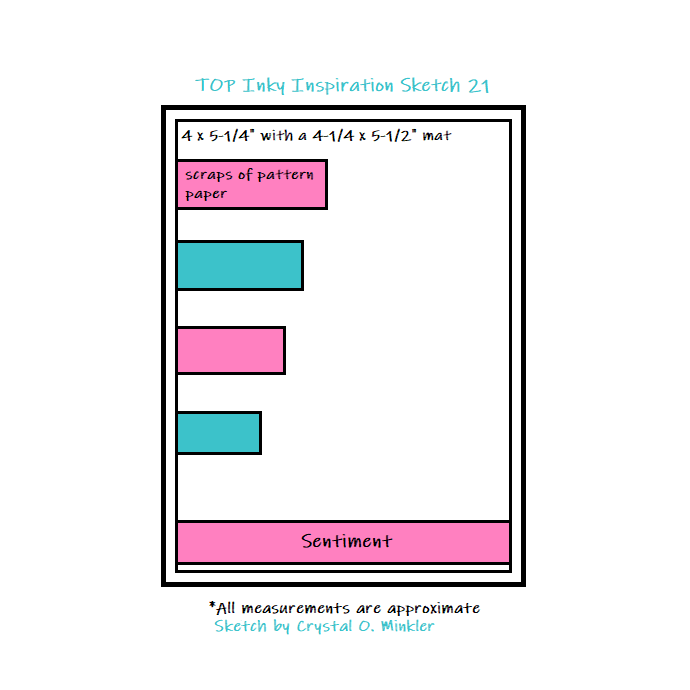
It's one of my favorite times of the month... time for the Friends of Unity Blog Hop!! Our cue this month is one of my faves that we've done a couple times now! I can't wait to see all the creations shared by our friends today! So let's get to the cue...
... Masculine cards!! Yes!
Masculine cards can be so hard at times, but they are absolutely necessary for those guys in our lives and with Father's Day quickly approaching I thought it would be fun to share a few ideas for Father's Day cards.
For my first card I used the cute
Best Tool in the Box stamp set... I love the cute tools in this set! I thought it would be so fun to tuck those tools in a pocket and I remembered that I have a pocket stamp!! I used the adorable pocket stamp from the
Pocket & Patches stamp set. There is another pocket stamp in an older KOM called
A Pocket Full of... that one would probably work too. Not sure about the size of the pocket in that kit though.
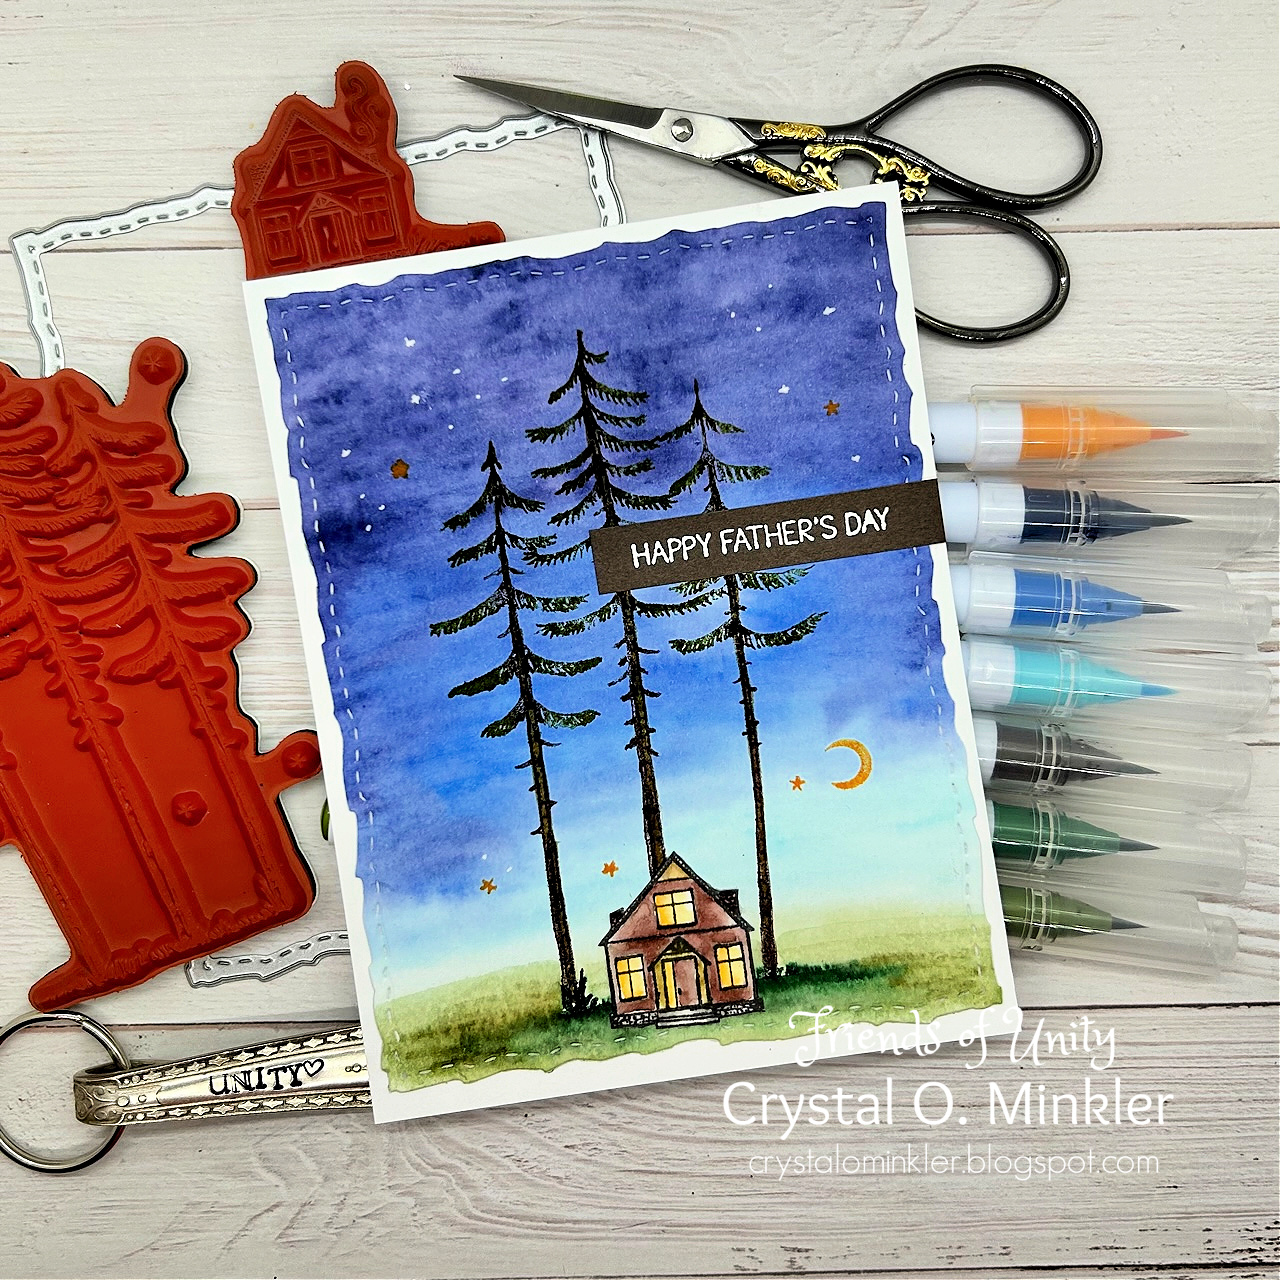
I actually started with the background for this card though. I stamped the
Dance with Denim background stamp onto Buckaroo Blue card stock from Stampin' Up with Stormy Sky and Faded Jeans Distress Oxide inks. I didn't ink up the background stamp fully before stamping... I inked it up randomly one color at a time. I think it gives the background a bit of a distressed look. I stamped it again with both inks for my second background and then a third time on a scrap of card stock for my pocket.

I stamped the tools with Gina K. Design Black Amalgam ink and colored them up with just a handful of Copic Markers ~ E53, E55, E57, E59, N0, N1, N3, and N4. I fussy cut the tools and cleaned up the edges by coloring them with a Memento Tuxedo black marker. To assemble the card, I mat the denim backgrounds on Kraft card stock to coordinate with the brown in the tools. I used a 1/8" circle punch to punch the holes in the rivets of the pockets and added a couple brads from my stash. I adhered just the outer edges of the pocket leaving the top open for the tools and then I tucked the tools in there adhering them with liquid glue. I stamped the sentiment with the black amalgam ink on Kraft card stock. I trimmed it up adding a layer of scrap card stock to each side of the sentiment strip so it would lay flat and then I adhered it to the card.

For my second card I used the adorable
Beary Best Dad stamp set. I'm pretty sure that I haven't used this one before so I was excited to finally ink it up! It was so much fun to color too! I tried a different technique for coloring up the fur... little circles around the face and on the body. Though I think it's more noticeable on the face. I do like how it turned out!
I paired it up with some pattern papers from my stash and the colors from the papers are what inspired my coloring choices for the image. Here's a quick list of the Copic Markers I used:
Little Bear ~ E51, E53, E55, RV21
Dad Bear ~ E51, E53, E55, E57, E59, R000, R20, RV21
Hat ~ E53, E55, E57, E59
Tie ~ BG10, BG01, BG13, YG11, YG13, YR21, YR15
Bow Tie ~ YG11, YG13, YR21, YR15
Grass ~ YG11, YG13, YG17
I die cut the stamped and colored panel with the largest stitched rectangle die from the
Scallops & Rectangles {nesting dies} from Unity. I adhered the two pattern papers to my white A2 top fold card base that I turned on it's side. I trimmed off the excess pattern papers and then adhered the top panel. A pretty simple, but adorable card!
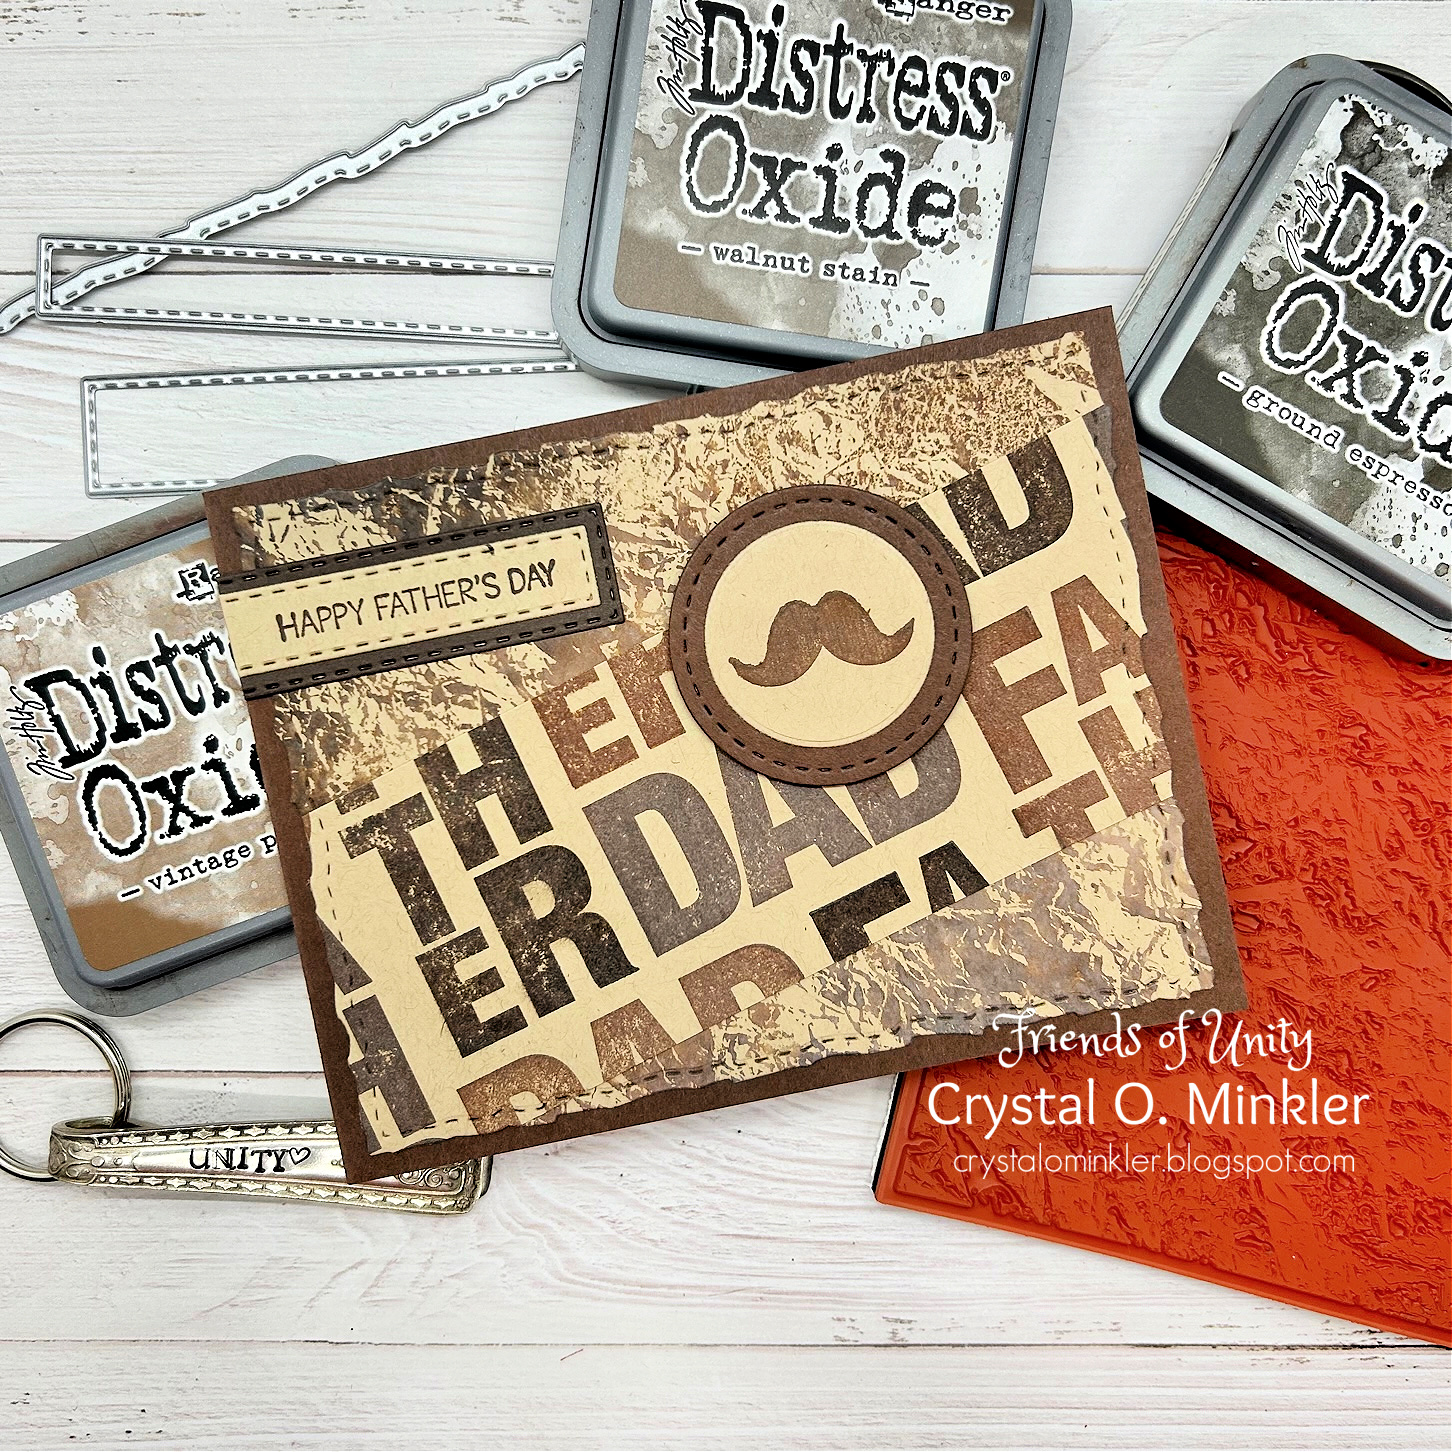
And a vintage style card for the grandfather's in our lives using the beautiful
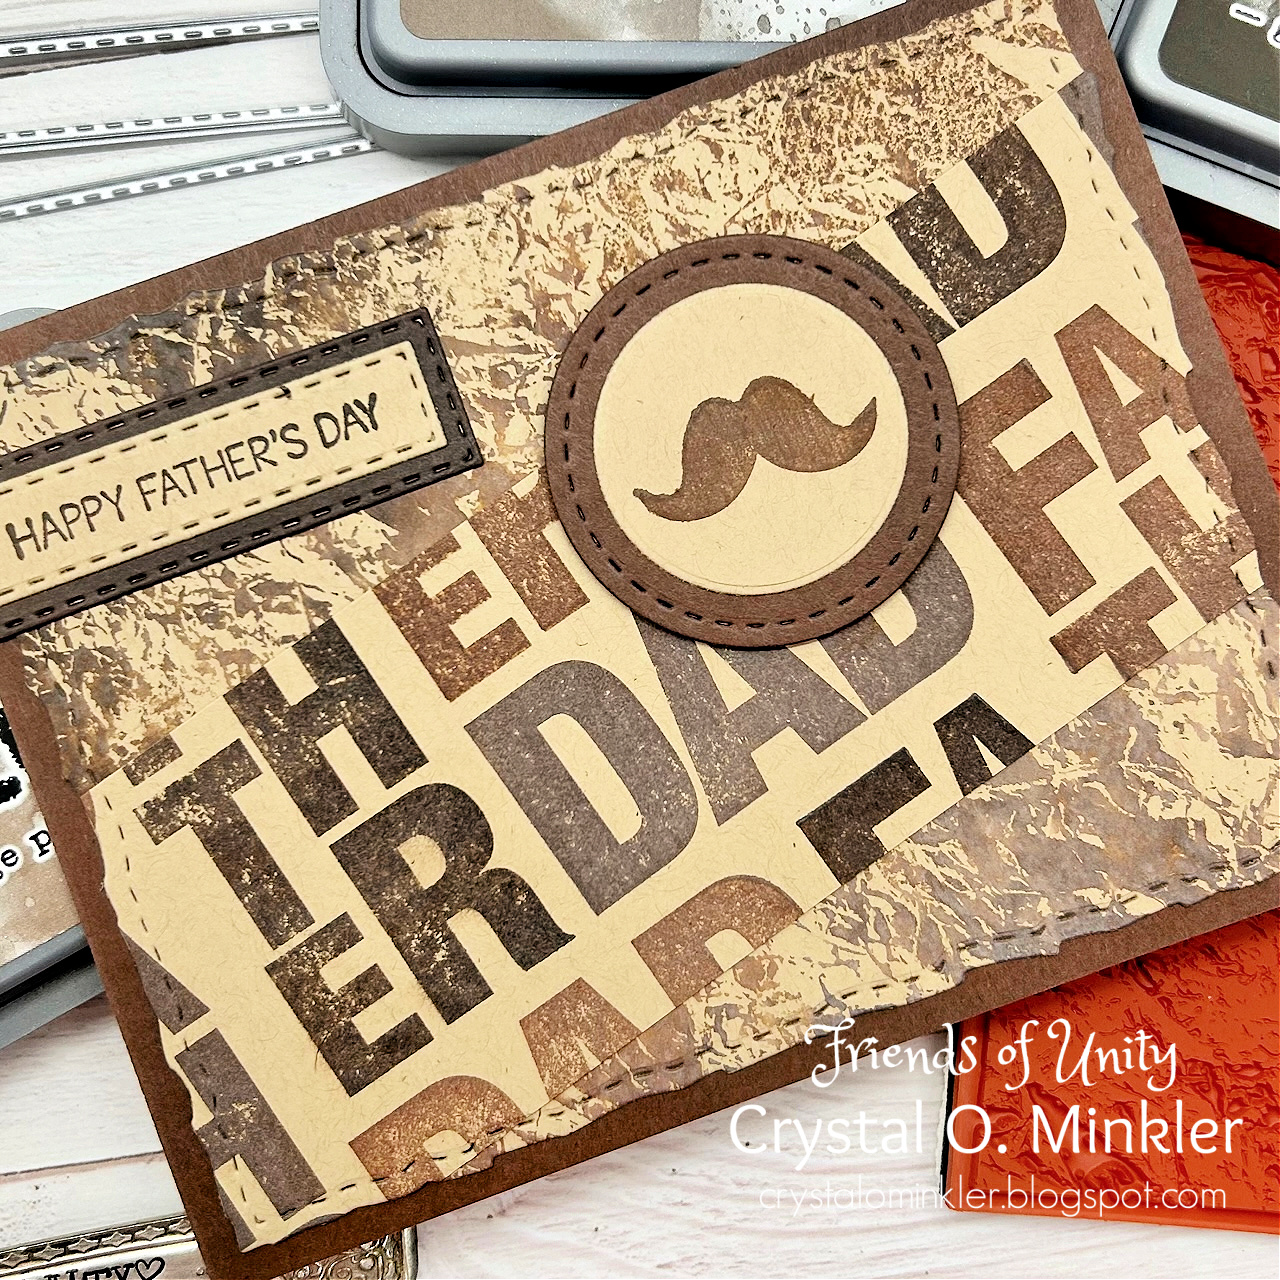
You Are a Classic stamp set!! Sometimes you just need some inky time and distressing the edges for this card... so relaxing! I love the deep brown hues on the pattern paper and the Vintage Cream card stock that I used to stamp on! So rich and beautiful in person!
The pattern paper I used was just another one from my stash but it wasn't necessarily vintage in style so the distressing with Vintage Photo Distress Ink around the edges really gave it that vintage look. I stamped the beautiful vintage car background and sentiment with Gina K. Design Black Amalgam ink on Vintage Cream card stock from Papertrey Ink. I mat all of my layers with Soft Suede card stock from Stampin' Up because it coordinated with the colors in the pattern paper but I don't think it really mattered since I ended up distressing each of the layers over the mats with the Vintage Photo Distress ink.

It's been quite awhile since I've used a button on one of my cards... they are just so bulky and it's so annoying paying extra to mail bulky cards, but this card just had to have one. I wrapped the button holes with some
{Ivory} May Arts Burlap string and adhered it to the back of the button with a glue dot. I also used glue dots and a touch of Ranger Multi Media Matte to adhere the button to the card. I'm pretty sure it's not going anywhere! LOL! I popped up the focal image and the sentiment with foam tape giving some dimension to the card. Another one done... so happy with how all of these turned out!
Now before we get to the hopping, I chose a lucky winner from the comments on last month's hop to win a fun prize package and that lucky winner is...
... Cat Valdez!! Congratulations, Cat!!
Please email me at crystalominkler@gmail.com to claim your prize.
Prize must be claimed within two weeks.
Well, that's it for me this time! Please hop along and enjoy some more inspiration from the Friends of Unity! I can't wait to see all the gorgeous inspiration from our friends! I will be doing another fun giveaway this month!! Be sure to hop along and comment for a chance to win! I'll announce the winner next month!
***Google/Blogger is acting weird lately so please include your name in the comments just in case the comment is posted as anonymous we'll still be able to know who commented.***
Let's get to the hopping...
Crystal <--- you're here
Thanks so very much for supporting our little hop!
We appreciate you!!
See ya next time.
Inky Hugs,
Crystal
{Please note that comment moderation is ON. Your comment will appear shortly.}