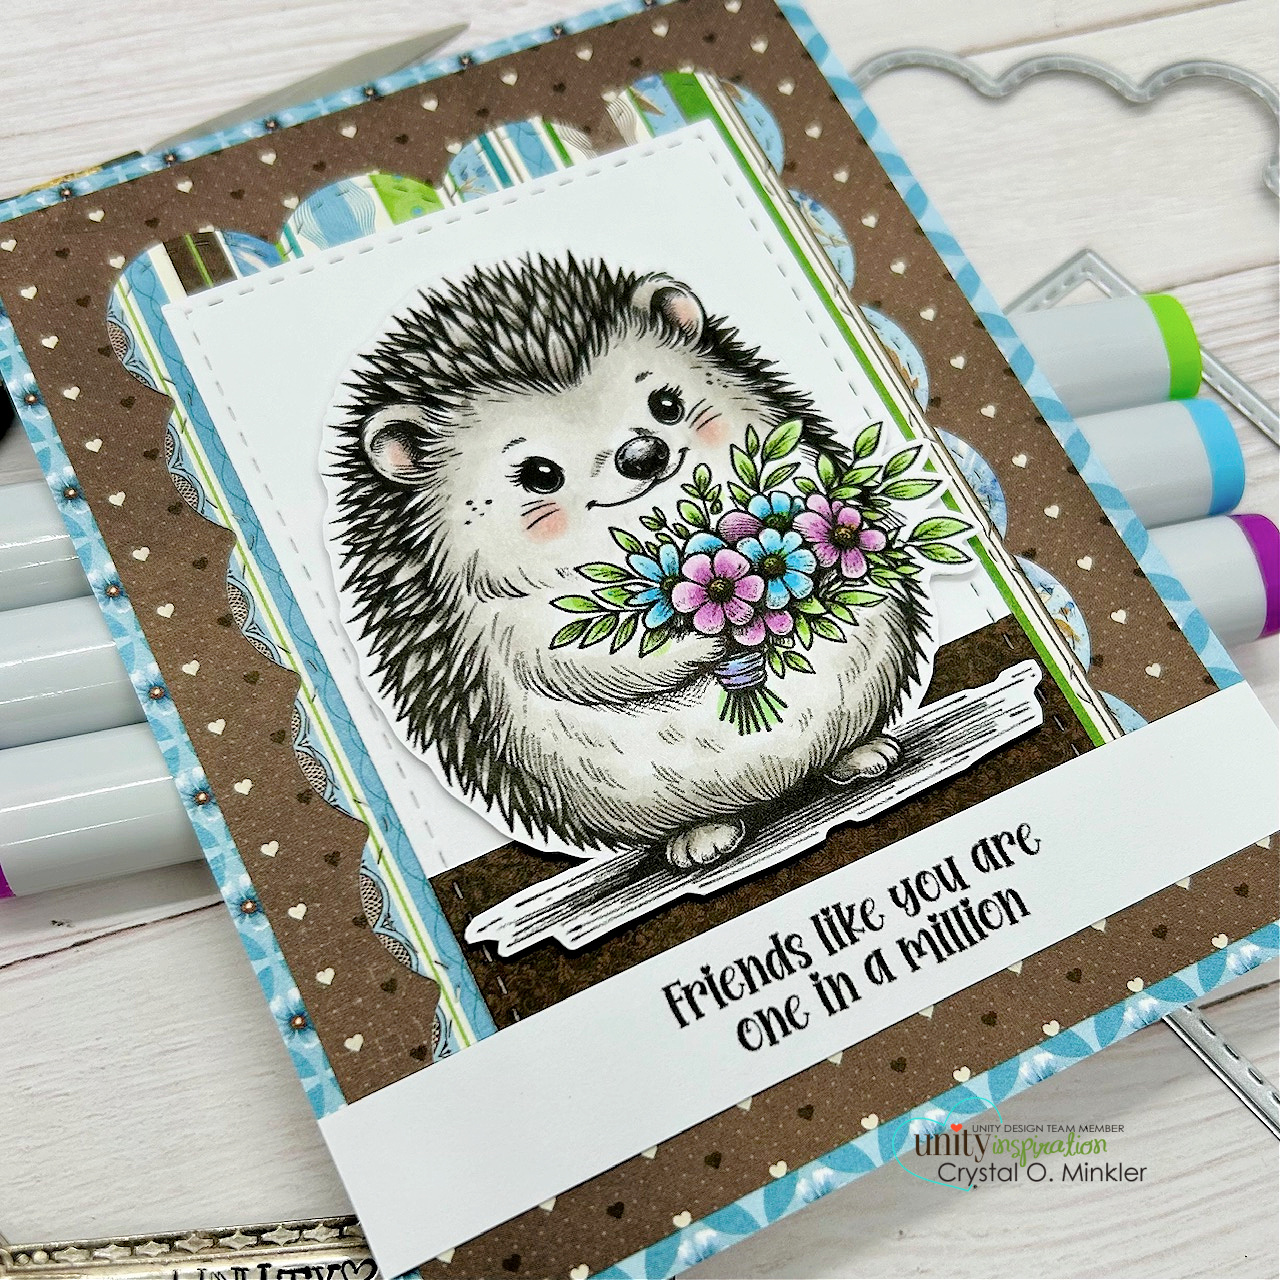
Hello there crafty friend!
It's time for our Friends of Unity Blog Hop!! This month's cue is a fun one with a lot of possibilities. I can't wait to see how our friends were inspired for this one! Don't forget to hop along and comment on all the blogs for a chance to win a fun prize.
This month's cue is Celebrations. I was a bit overwhelmed with this one. I had a hard time deciding what to use. So many options for the cue... birthdays, anniversary, graduation, new baby, new home, etc. It's truly endless. And then to narrow down the stamps. I eventually thought it would be best to go with upcoming celebrations in our home. So I made a birthday and anniversary card.
First up is a fun birthday card for my daughter's 12th birthday that is coming up this month. I had mentioned
last time I used this beautiful new Angie Girl from the
Echo of Kindness stamps that she reminded me of my daughter. So I just had to use her again for her birthday card!
Inspiration for my card came from the new
Tawny Owl Paperie Inky Inspiration Sketch 22. A great sketch for those leftover scrap papers! This is quickly becoming a new favorite of mine. Lots of fun layers so I could use a few different pattern papers. So fun!
I stamped the sweet girl using Amalgam Black Ink from Gina K Designs. I colored her up very simply with Copic markers. My daughter's favorite color is yellow so I tried to coordinate with the yellow in the papers. I fussy cut the girl leaving a white border around the edges and popped her up on the card with foam tape.
Here's a quick list of the Copic markers I used to color up the girl:
Skin: E000, E00, E11
Hair: E30, E35, E37, E39
Dress / Hair Tie: Y11, Y15
Bracelet: Y15
All of the measurements for the papers follow the sketch except the blue strip of pattern paper across the card which I trimmed to 4" across. But really is just a scrap like the two rectangles of paper I used. The sentiment is from the
Bitty Birthday Bash stamps. It's perfect with this sweet girl. I finished off the card with a few enamel dots from my stash. I sure hope she likes it!
Next up, an anniversary card for my honey! Not only do we celebrate our daughter's birthday and Father's Day... we also celebrate our wedding anniversary. June is a busy month! I'm so excited to be ahead! My honey and I both have a love for old trucks so I searched through my stash and found this beautiful truck from the
Ol' Fashion Holiday Love stamps. I love using my seasonal stamps for other occasions!

Inspiration for my second card actually comes from the
{BYSHC} Sketch 29. You may recognize this sketch and even the papers I used for this card. Funny enough I used this sketch and the papers along with Echo of Kindness for a
card last month. That's a funny coincidence I just now realized! I did alter the sketch a bit. The 'i love you' paper measures 4 x 5-1/4" and was cut in half diagonally. The roses were cut the same. I adhered them both to a 4-1/4 x 5-1/2" piece of Vintage Cream card stock from Papertrey Ink. I decided I wanted to use the xoxo paper as well so I adhered it over the roses paper.
I stamped the truck from the
Ol' Fashion Holiday Love using Amalgam Black ink again. I love this ink for my Unity stamps! It works for both Copic coloring and watercolor. Which reminds me, I haven't watercolored in a while. I really should. I had challenged myself to watercolor at least once a month, but it's been a long time.
Here's a quick list of the Copic markers I used for the truck:
Red: R00, R20, R14, R37
Gray: N1, N3, N5
White: C00, C1, Colorless Blender
Background: E41
I fussy cut the truck leaving a border and popped it up on the card using a bunch of foam tape. I heat embossed the sentiment from the May 2024 Uniquely Unity
Wind in Your Hair stamps. I prepped the pattern paper using the TE Anti-Static Powder Tool from Taylored Expressions. Stamped the sentiment using Sugar Cube White Pigment Ink, also from Taylored Expressions. Added some Alabaster White Embossing Powder from Brutus Monroe and melted the powder using the Wagner Precision Heat Tool. We just got two new rose bushes for our yard so I think he'll love the roses on here. It's not my typical masculine card, but I'm thinking he'll like it. I hope so, at least!
Now before we get to the hopping, I chose a lucky winner from the comments on last month's hop to win a fun prize and the lucky winner is...
... Sue D!! Congratulations, Sue!!
Please email me at crystalominkler@gmail.com to claim your prize.
Please claim the prize before July 3rd, 2024.
Well, that's it for me this time! Please hop along and enjoy some more inspiration from the Friends of Unity! I can't wait to see how our friends were inspired by this month's cue. I will be doing another fun giveaway this month!! Be sure to hop along and comment for a chance to win. {When you comment please leave your name just in case it posts as anonymous.} As always, I'll announce the winner next month!
Let's get to the hopping...
Crystal <--- you're here
Thanks so very much for supporting our little hop!
We appreciate you so much!!
See ya next time.
Inky Hugs,
Crystal
{Please note that comment moderation is ON. Your comment will appear shortly.}


.jpg)


