Showing posts with label glitter glaze. Show all posts

Friday, May 22, 2020

Scrapping for Less ~ Glitter Lace Butterflies and More!!

Hello there crafty friend!
Today, I'm sharing a couple of cards using products from the A La Carte section of the Scrapping for Less shop! Anyone else obsessed with butterflies?! I love them! Today I'm sharing the Lace Butterfly die by Gina Marie Designs that is available in the shop here ---> Lace Butterfly die.


I die cut the beautiful butterfly several times from the DCWV Single-Sided Glitter card stock in all the colors of the rainbow!! I decided for this card to use the turquoise glitter butterfly... it looks so lovely over the Insulation Pink card stock.


I applied some beautiful Glitter Glaze from Brutus Monroe over the Coffee Dot stencil by Echo Park. I think the Nuvo Frostbite Glacier Paste would give a similar look and it's in the shop here ---> Nuvo Frostbite Glacier Paste. So much glittery goodness!! I wish the pictures did it justice!


I trimmed the Insulation Pink card stock to 4-1/8 x 5-3/8" and adhered a Scalloped Stitched Rectangle frame by Gina Marie Designs that I die cut from white card stock. If you don't have a scalloped stitched rectangle frame in your stash, there's one in the shop here that is just slightly smaller than the one I used ---> Sunny Studio Frilly Frames Hexagon Stitched Scalloped Rectangle die... and it has that cool hexagon too! I stamped the 'Live Your Best Life!' sentiment from the Your Best Life Collection in the April 2020 City Streets and Country Roads card kit with Memento Tuxedo black ink and die cut it with a banner die. I trimmed it down and popped it up on the card.


To finish off the card, I added three cute flower sequins to the body of the glitter butterfly... it is so enchanting in person!!! Truly beautiful combined with the glitter butterfly!


Now, remember I die cut a whole bunch of these glitter butterflies... let me tell you there was glitter everywhere!!! But a handy tip for cleaning that up is using Swiffer Sweeper dry cloths. I was able to clean up everything with just one cloth... they are super sturdy and hold a lot of glitter!


For my second card, I wanted to make a slimline card that looked like the butterflies were flying in the clouds. I made a little video showing the ink blending and assembly of the card. You can check that out here...


I hope that you've enjoyed the cards I shared today! Be sure to check out all the fabulous items available in the A La Carte section of the shop! You can restock those consumables you've used up in the kit or find some other must have goodies to help enhance your card kit creations!

Thanks so much for stopping by!
See ya next time.

Inky Hugs,
Crystal


Thursday, February 14, 2019

The Rabbit Hole Designs ~ Love You More ~ Love Is In The Air

Happy Valentine's Day!! Today, I'm sharing a sweet card using the sweetest set from The Rabbit Hole Designs called Love You More. I just adore this stamp set and had a fun idea to use this set with some Glitter Glaze from Brutus Monroe!


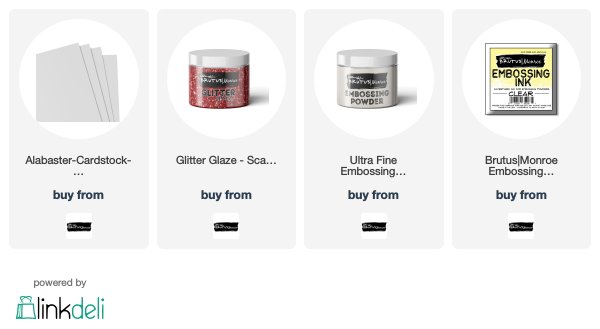
Ever since I created my first card using this stamp set... you can see that on my Instagram here ---> Love You More card... I had the idea for this card in the back of my mind. I really wanted to play with the Glitter Glaze from Brutus Monroe again. I used a heart stencil from my stash and masked off the portions I didn't want on the card. I taped the stencil down over the top folded 4-1/4 x 5-1/2" card of Alabaster card stock and then used a palette knife to apply the Scarlet glitter glaze over the stencil. I set the card aside to let it dry and then stamped the adorable images on a separate piece of Alabaster card stock. I then colored all the images with the following Copic markers:

Skin ~ E000, E00
Girl's Dress ~ BV31, BV34
Girl's Hair ~ E55, E57, E59
Boy's Shirt ~ YR16, YR27, N0
Boy's Jeans ~ B95, B97
Boy's Hair ~ E43, E44, E47
Balloons ~ R000, R14, R27
Clouds ~ BV20, BV23
Bird ~ R20, Y11

The clouds got a little too dark for my liking so I went back in with a white Gelly Roll pen and it turns out, I liked the texture that it gave to the cloud so that's a win win there! I fussy cut all the images and adhered then with mono multi purpose liquid glue. I trimmed off the excess cloud on the right side. I then stamped the sentiment with Clear Embossing Ink and heat set Alabaster embossing powder. I die cut the sentiment with a banner die and then trimmed off the left side. I adhered it to the card using the liquid glue and there you have it! I love this card!


Here's a close up of the coloring and you can see the pretty glitter in the glitter glaze hearts!
Love it! I sure hope that you like my card, too! 


Thank you friends for checking out my blog post!
See ya next time.

Inky Hugs!
Crystal


{SUPPLIES}

Affiliate links are used at no extra cost to you:


Tuesday, December 18, 2018

Brutus Monroe ~ Forest Background ~ Let it Snow

Hello! I am beyond excited to be guest designing for Brutus Monroe during the month of December! Woohoo! I hope to share some fun creations with you this month using some fabulous products!! Let's get started! 


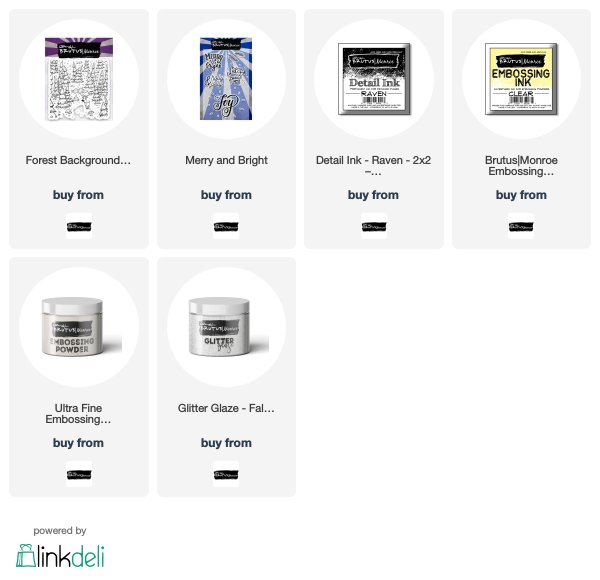
Today, I have a card I created using the adorable Forest Background stamp. I stamped the background using Raven Detail Ink and then colored in the images with the following Copic markers ~ E21, E23, E25, E34, E35, N0, N2, N5, E55, E57, E59, W5, G24, G29, G46, YG17. I knew that I wasn't going to use the entire background so I didn't color the whole thing. In fact, I just realized I missed a tiny bit of tree there in the bottom right corner. Ooops! Haha... well, sometimes that happens. I also added some 'snow' to the background using a snow marker and then heat set it to make it puffy. I then die cut the circle piece I wanted for my focal image and then die cut the stitched rectangle piece. I didn't want to exclude that sweet little bunny so I fussy cut him out and adhered him by the deer adding a bit of snow around him, as well. I then set those pieces aside to work on my back layer.


I just had to try out the Fallen Snow Glitter Glaze and I wanted to see what it would look like on a dark card stock so I chose a piece of dark blue card stock from my stash along with a snowy stencil. I was pleasantly surprised at the texture of the glaze... it was so easy to work over the stencil with the spatula filling in all the snowy bits. I love it! I love the effect of the glittery 'snow' on the dark background, too! The perfect base layer for the design I had in mind.

Once the glaze dried, I trimmed the snowy background and mat it on a piece of grey card stock. I mat the rest of my layers using the same grey card stock and then adhered all of my layers onto a white card base, popping up the focal image in the circle using foam tape. When I adhered that last focal piece I was careful to line up the images with the rectangle background.... it's a great way to give dimension to a card when using just a background stamp.


To finish off the design and tie the whole theme of the card together I chose the 'Let it Snow' sentiment from the Merry and Bright set. I didn't want to cover the background I had colored so I chose to stamp the sentiment on vellum card stock. I stamped it using Brutus Monroe Embossing Ink and then I heat embossed Ultra Fine Alabaster Embossing Powder... OMG! I absolutely love this embossing powder! You can see in the picture above how well it melted... so beautiful! I die cut the sentiment with a circle die and then I adhered it just on the right side where it overlaps the scene in the circle. I didn't want to use foam tape behind the other side since it would be visible through the vellum and it would cover the background so I just left it to kind of float there. 


Here's another look at the finished card. I love how it turned out! I hope I've inspired you to pull out those background stamps and have fun with some layers!

Thanks so much for stopping by!
See ya next time.

Inky Hugs!
~ Crystal


{Supplies}

Affiliate links are used: