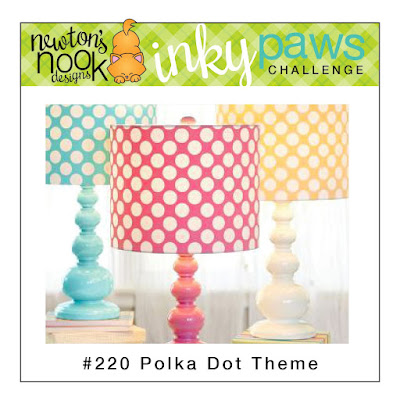
Hello there crafty friend!
This has been such a fun theme and just couldn't help but use another brand new paper pad!
The
Bright Basics 6x6 Paper Pad is a rainbow of polka dot papers!! I love it! I decided to make a rainbow card using a piece of each of the polka dot papers in my card. I love how it turned out! I die cut the red paper using the largest die from the
Frames & Tags Die Set. And then I die cut the orange, yellow, green, and blue papers using the frame die. This die cuts not only the frame but also the window pieces so now I have a bunch of extra pieces that I can use for future cards. To finish off my rainbow of polka dot papers I die cut the purple papers using a stitched circle die from the
Circle Frames Die Set.

I paired the polka dot papers with the adorable
Newton's Bright Birthday Stamp Set. Loving this cute new stamp set! I stamped the kitties and two party hats on Stampers Select White Card Stock from Papertrey Ink. And colored them up with a bunch of Copic markers. Once I was happy with my coloring, I die cut them using the coordinating dies from the
Newton's Bright Birthday Die Set.
Here's a quick list of the Copic markers I used to color up the pup, shamrock and heart:
Grey Kitty: R00, R20, N0, N1, N3, N5
White Kitty: R00, R20, C00, C1, C3
Orange Kitty: R00, R20, YR21, YR15, YR24, YR27
Extinguisher: R20, R14, N0, N1, N3, N5, Y11, Y15
Birthday Cake: R20, R14, YR21, YR15, Y11, Y15, YG11, YG23, B000, B02, C00, C1, C3
Green Gift: YG11, YG23
Polka Dot Gift: V000, V12, V15, Y11, Y15
Orange Gift: YR21, YR15, YR68
Party Hat {White Cat}: V000, V12, R20, R14, YR21, YR15
Party Hat {Orange Cat}: R20, R14, YR21, YR15, Y11, Y15
I die cut a piece of white card stock using the tag die from the
Frames & Tags Die Set. I placed the tag in my Mini Misti and covered the tag with an acetate grid sheet so I could make sure I had the stamp placement correct. Once I was happy with the placement, I removed the acetate grid sheet and stamped the sentiment from the
Newton's Bright Birthday Stamp Set using Memento Tuxedo Black Ink. I popped the tag up on the card using foam tape. You know that lovely twine that comes with every Newton's Nook Designs order? Well, I thought it would be fun to use some on my card. I tied a cute little bow and adhered it to the tag using a mini glue dot.

Now it's your turn to get your paws inky with your
Newton's Nook Designs products and create a project with a Polka Dot theme. Be sure to link up to the
Inky Paws Challenge! Can't wait to see your projects!
Thanks so much for stopping by!
See ya next time.
Inky Hugs,
Crystal
{Please note that comment moderation is on. Your lovely comment will appear once approved.}


